
Introduction
As a programmer, I usually work for clients on their projects. I focus on delivering meaningful content and functionalities. However, there is a time when you start to wonder if your honed skills can benefit you in real life.
Problem Statement
Let me quickly give you some backstory before I dive into more technical stuff. Some time ago, I needed to help my wife design our bathroom. It meant picking up all the necessary equipment, but also choosing the right tiles. Shapes, colors, and places to put them had to be taken into account. We decided that one particular wall would be covered with hexagonal tiles. We liked that idea, but we wanted more, and we decided that tiles shouldn’t be just one color. The manufacturer had in the catalog tiles in three colors: white, green, and wood-like. And then came the hardest part, which was to design some kind of pattern. We needed some easy solution.

Potential Solutions
My first thought was to take some paper and just draw it. Another option was to find some ready solution, maybe some online editor. The problem with the first one was that it would be too tedious, and with the second it would be hard to find the right tool to fulfill all our needs. We had a tough nut to crack. Then I started to think if my programming skills could help me in some way.
My key requirements were:
- the dimensions should be in scale,
- it should be quick in development.
I was wondering if I could prototype some basic app that could show a wall with tiles.
Implementation
I started with the smallest element, which is a single hexagon tile. I was considering using a Scalable Vector Graphic (SVG) or Canvas, but I decided to use the former because I have more experience using it. I used React for the project because I am fluent in that technology and I wanted to develop the app fast. To meet the scale requirement, each pixel on the screen would contribute to 1 millimeter in real life.
I created React component to represent single Hex tile.
import React from 'react';

export default function Hex() {
  return (
    <svg
      className="hex"
      xmlns="http://www.w3.org/2000/svg"
      viewBox="-1 -1 127 112"
      width="125px"
      height="110px"
    >
      <defs>
        <pattern id="greenTilePattern" patternUnits="userSpaceOnUse" width="140" height="140">
          <image href={greenTilePattern} x="-5" y="-5" width="140" height="140" />
        </pattern>
        <pattern id="woodenTilePattern" patternUnits="userSpaceOnUse" width="140" height="140">
          <image href={woodenTilePattern} x="-5" y="-20" width="140" height="140" />
        </pattern>
      </defs>
      <polygon points="0,55 31.25,110 93.75,110 125,55 93.75,0 31.25,0" />
    </svg>
  )
}
A simple polygon solved everything. To make those tiles more like a real thing, I masked them with texture images.
The next step was to lay them out next to each other using some kind of grid system. First, I stacked them in columns and then moved those columns to the right position using the CSS transform property.
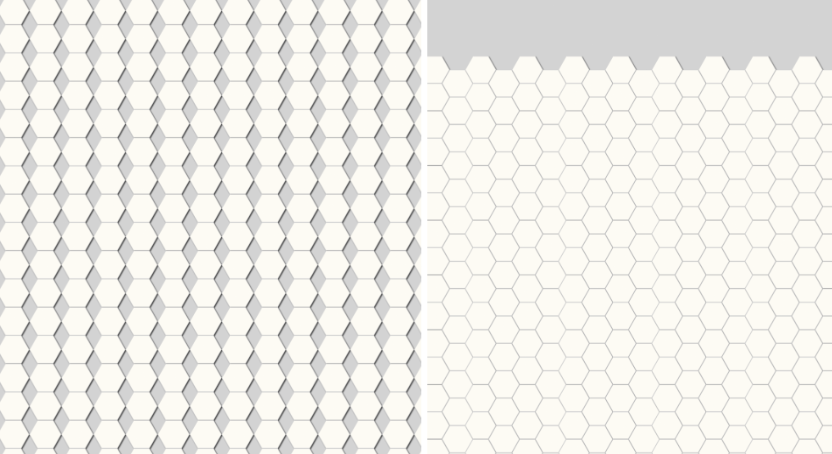
To start designing the pattern, the user should be able to change the tile color. I decided to use a simple onClick event handler to alter between different states. Starting from a white tile, when clicking for the first time it will change to green. After clicking the second time, it will change to wooden. When clicking one more time, it will change back to white and the whole process can be repeated.
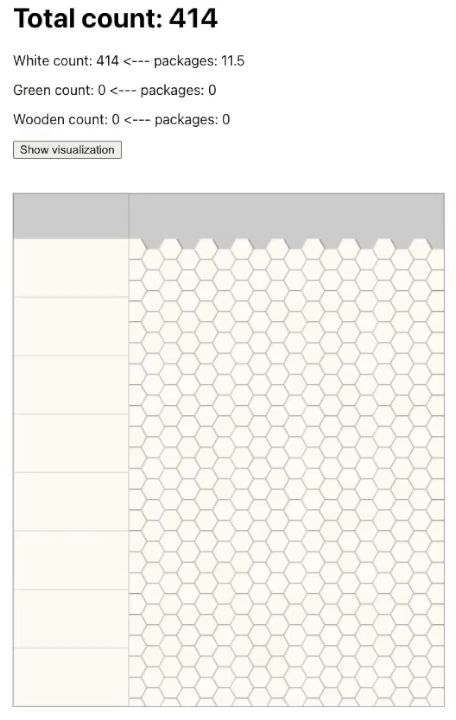
I wanted to know how many tiles of each type I need to order. After each click on the tile, I dispatched the action to update the state using the reducer. I used the built-in React reducer solution in a form of useReducer hook.
The app was ready to be used to design the pattern. My wife was a beta tester, but she wanted to use the app at her leisure, preferably while lying on the couch. So I needed to adjust the app for mobile devices. CSS transform scale property came in handy. On the first render, I checked the viewport width and scaled the wall container to fit on the screen.
Additional improvements
This could be the end of that story, but once you start, you begin to wonder if you can improve it in any way. At that time, I stumbled upon the 3D in CSS concept online. Instead of implementing three.js or pure WebGL, you can easily add a simple 3D effect using the perspective property. Every element in HTML can be transformed using three axes: X, Y, and Z. It is possible to move, rotate, or skew along all those axes. Everything you see on the page is two-dimensional, and it is impossible to see the Z axis.
Once you add the perspective the browser will try to visualize and place the elements in 3rd dimension. To make it more clear I recommend this site, that delves deeper in the subject: https://3dtransforms.desandro.com/cube
However, why I needed this. I thought that I could add other surfaces like perpendicular wall and the floor to see how the pattern will look next to them. When clicking the right button the animation is triggered which adds the prospective and rotates additional walls to add 3d effect.
Result
Everything was ready to start designing. To make it simple in order to save the project you just need to make a screenshot.
To make the app public I created Github page, which is free and easy to setup.
Repository: https://github.com/BartoszBazanski/hexagon-tiles
Github page: https://bartoszbazanski.github.io/hexagon-tiles/
After few days of designing, which meant randomly tapping the screen 😁, we picked the pattern that we both agreed to.
How it worked? We printed the final design and our construction worker used it to place all tiles accordingly.

Conclusion
In conclusion, this small project really helped me to look at my skills from a different angle. When you work for the clients you start to forget that you possess a very unique set of skills that can help you achieve some remarkable goals in real life.


